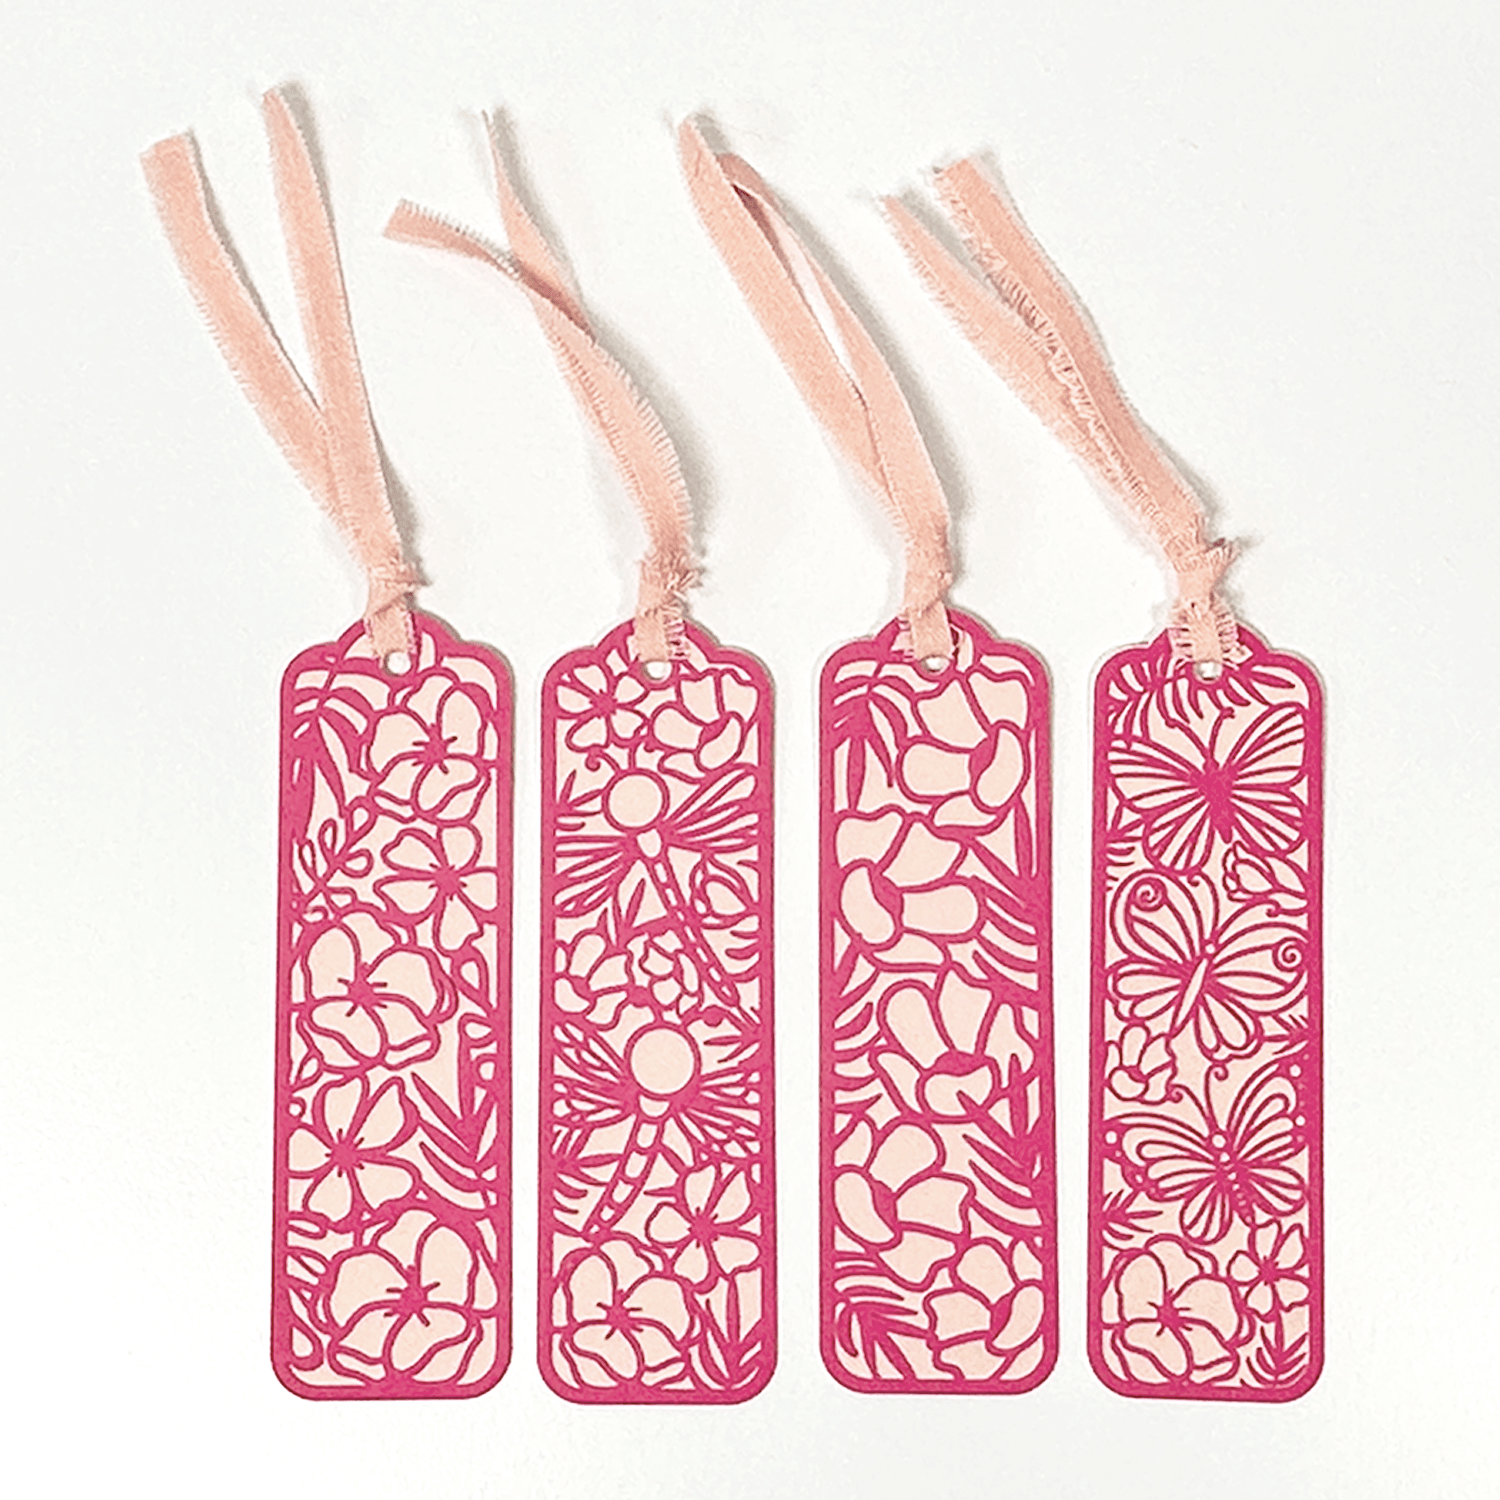
Let's Make Bookmarks with Cricut

The links contained in this blog post may be affiliate links. I may receive a small commission for the referral but there is no additional cost to you.
For these DIY Cricut - Spring Bookmarks gather the following items:
- Cardstock - Dark Pink
- Cardstock - Light Pink
- Thin Glue Pen - I love the Zig Memory Pen - 1mm Ball Tip
- Ribbon of your choice
- Cutting Machine - I used my Cricut Maker with the Light Blue Cricut Cutting Mat
You will need this Spring Bookmark Bundle SVG File for Cricut for your project:
Let's Make!
- Upload the SVG file to Cricut (or to your brand cutting machine)
- Cut one light pink backer for each bookmark and one dark pink top layer.
- For Cricut - I recommend cutting on the intricate cardstock setting.
- Tip: For smooth intricate cuts, make sure you have good quality smooth cardstock and a fresh, sharp Cricut Cutting blade.

Put it All Together!
- Now let's use our super fine tip Zig Memory Glue Pen to add a tiny amount of glue to the back of the dark pink top layer. I tend to add glue in the thickest spots and around the edges.
- Turn your dark pink top layer over and attach to the light pink backer layer.

Make it fancy!
- Once the glue is dry - Add your favorite ribbon! I chose a thin, canvas style ribbon with pretty frayed edges. I tied in a simple knot.

Congrats! All done 👏
You are ready to gift or place in your favorite book.

If you love to read and Cricut craft - check out these bookish designs
Happy crafting! I'd love to see what you make in my Facebook Group.


Hannah
Hi Claire! The link is still active:) https://www.wispywillowdesignsco.com/collections/shop-all/products/spring-bookmark-svg-bundle-papercut-cardstock-designs
Claire
They look great!
Would liked to have made them but the link expired