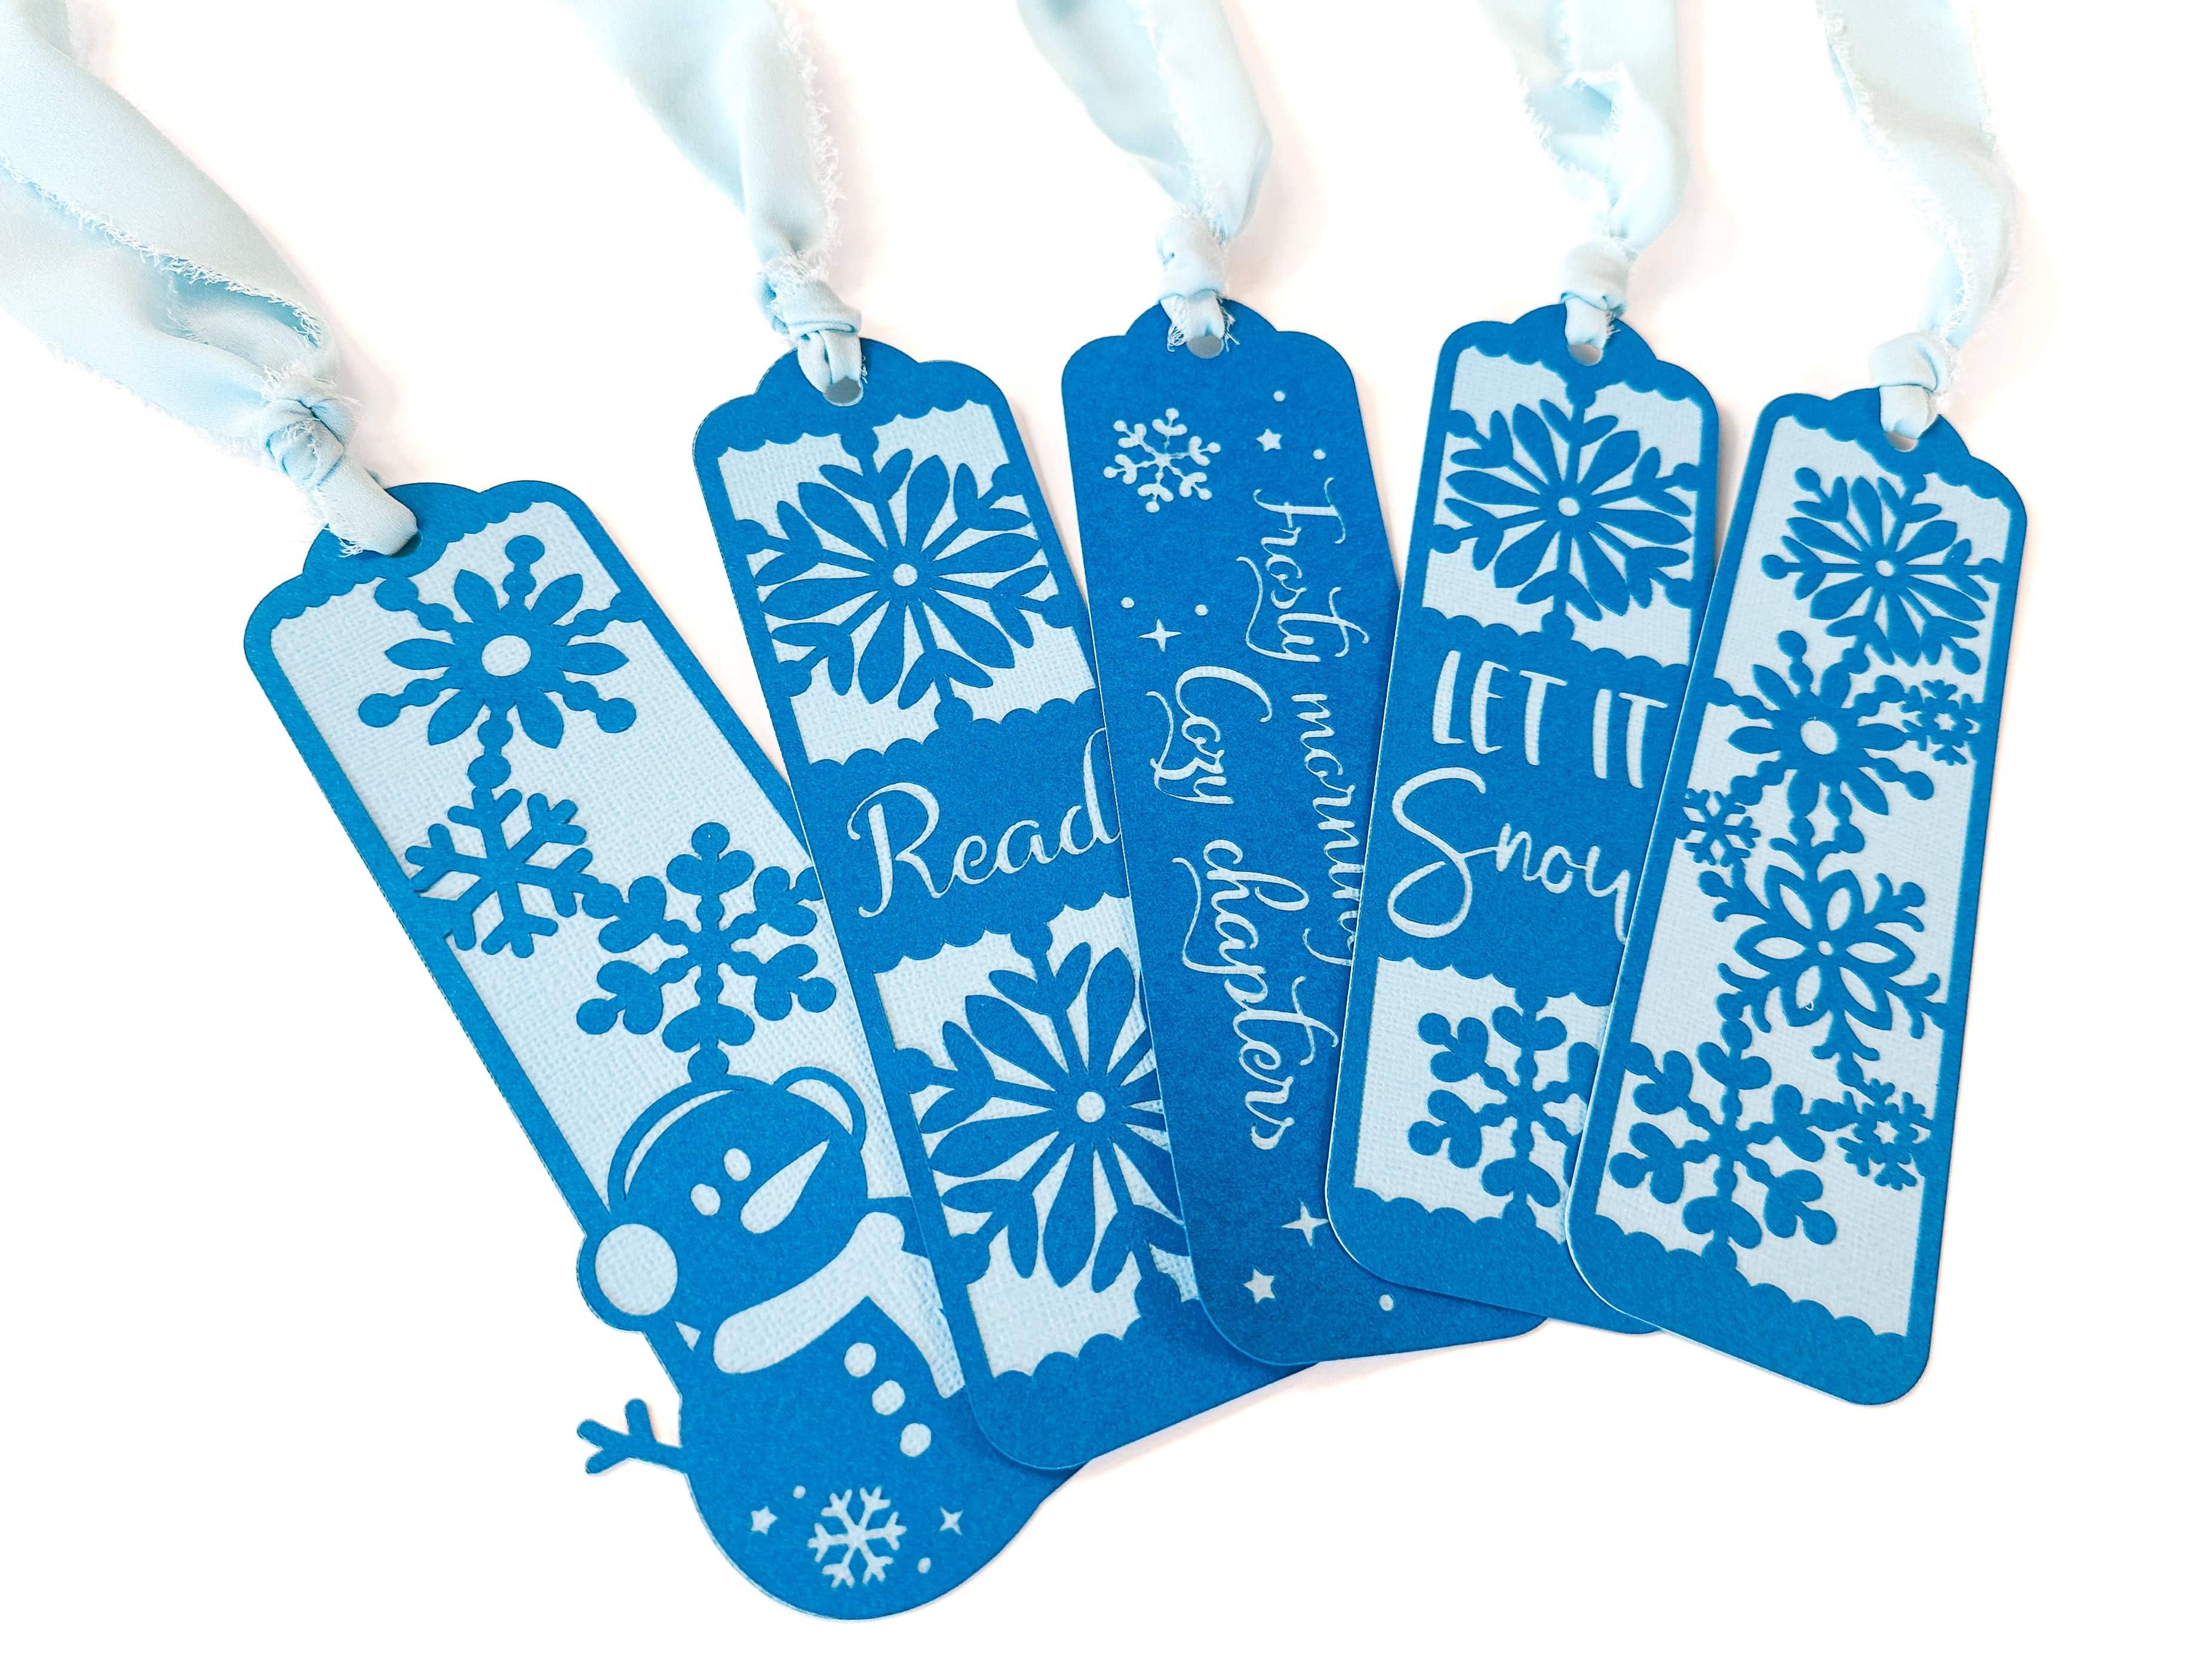
Free DIY Project - Make a Winter Cardstock Bookmark with Cricut

The links contained in this blog post may be affiliate links. I may receive a small commission for the referral but there is no additional cost to you.
For these DIY Cricut Spring Bookmarks gather the following items:
- Cardstock - Dark Blue
- Cardstock - Light Blue
- Thin Glue Pen - I love the Zig Memory Pen - 1mm Ball Tip
- Chiffon Ribbon
- Cutting Machine - I love my Cricut Maker or my Cricut Joy Xtra with the Light Blue Cutting Mat

You Can Grab This FREE Winter Bookmark SVG For Cricut:
Want More? Here's a Winter Bookmark SVG Bundle with 5 Designs - Perfect to cut with Cricut.
Let's Make!
- Upload the SVG file to Cricut (or to your brand cutting machine)

- Cut one light blue backer for each bookmark and one dark blue top layer.
- For Cricut - I recommend cutting on the intricate cardstock setting.
- Tip: For smooth intricate cuts, make sure you have good quality smooth cardstock and a fresh, sharp Cricut cutting blade.
Pro Tip: When removing the cardstock from the mat - turn your mat over and bend the mat back towards you while keeping the cardstock as straight as possible. This will keep your paper from curving afterwards.

After your cardstock pieces are peeled off the Cricut mat - you will have lots of little cut out pieces left. Grab your scraper (the bigger the better) and gently scrape the pieces off. They are trash so no need to be gentle!

Now you should have this:
Grab your ribbon and glue pen for the next steps.

Let's Put it All Together!
- Now let's use our super fine tip Zig Memory Glue Pen to add a tiny amount of glue to the back of the dark blue top layer. I tend to add glue around the edges, the thickest pieces, and any pieces that I think may separate from the backing easily.

- Turn your dark blue top layer over and attach to the light blue backer layer. Press down well. Let dry.

Make it fancy!
- Once the glue is dry - Add your favorite ribbon! I chose a light blue chiffon ribbon with pretty frayed edges. I tied in a simple knot.

Congrats! All done 👏
You are ready to gift or place in your favorite book.


Happy crafting! I'd love to see what you make in my Facebook Group.
Check out these FREE Winter SVG Files!
Even More Blogs ✂️


Leave a comment